Getting Started
- Adrian Wieczorek
- Władysław Bodzek
Installing Slack Connector
Slack Connector add-on can be found on Atlassian Marketplace and installed directly from your JIRA Cloud instance using Universal Plugin Manager by following these steps:
- Click the gear icon in the top right part of any JIRA page.
- In section "JIRA administration" click "Add-ons".
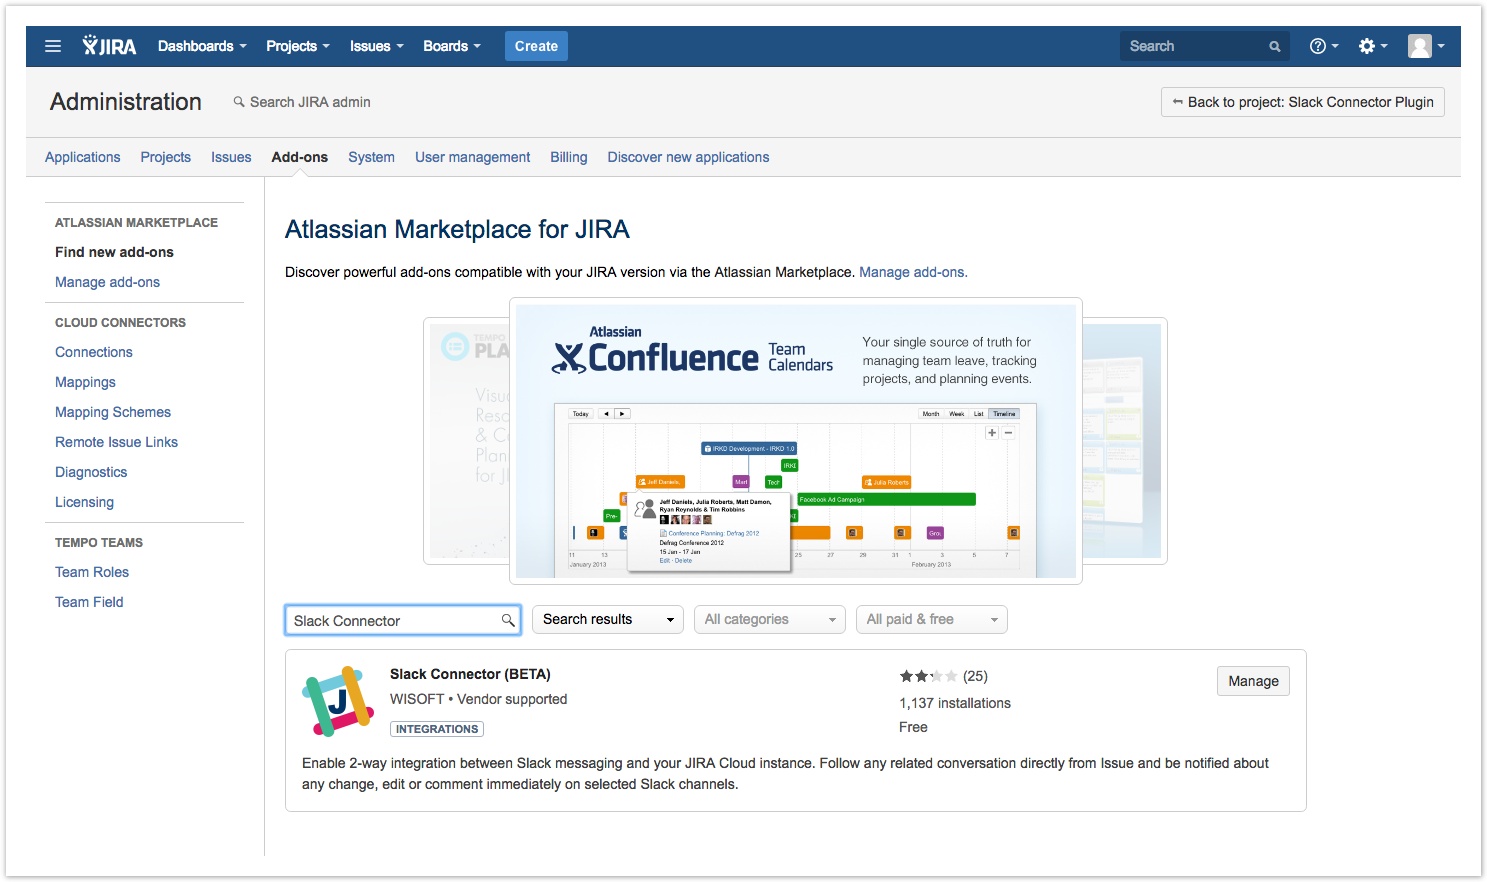
- This is the main page of Universal Plugin Manager.
Type "Slack Connector" in the search field and press Enter. - Click "Install" button in the search result and follow further steps as shown on the screen.
Configuring Slack Connector
Once installed, main Slack Connector configuration page can be accessed directly from Universal Plugin Manager (you need to select "Manage add-ons" from the left menu) by clicking "Configure" or "Get started" buttons in the Slack Connector section. Please check out Configuration page for more details on configuration. You may also take a look at the feature list to get better understanding of what can be achieved using Slack Connector.
Connect with Slack
The first step after installing add-on should be connecting your team's Slack instance with JIRA. See Connect with Slack page to get information regarding this process. Later on we recommend to encourage other people to connect their JIRA accounts with Slack by following the same steps. This will unlock Slack Connector features for them as well including setting up channel and issue notifications themselves, taking part in Slack conversations directly from JIRA issue page and more.