Connect with Slack
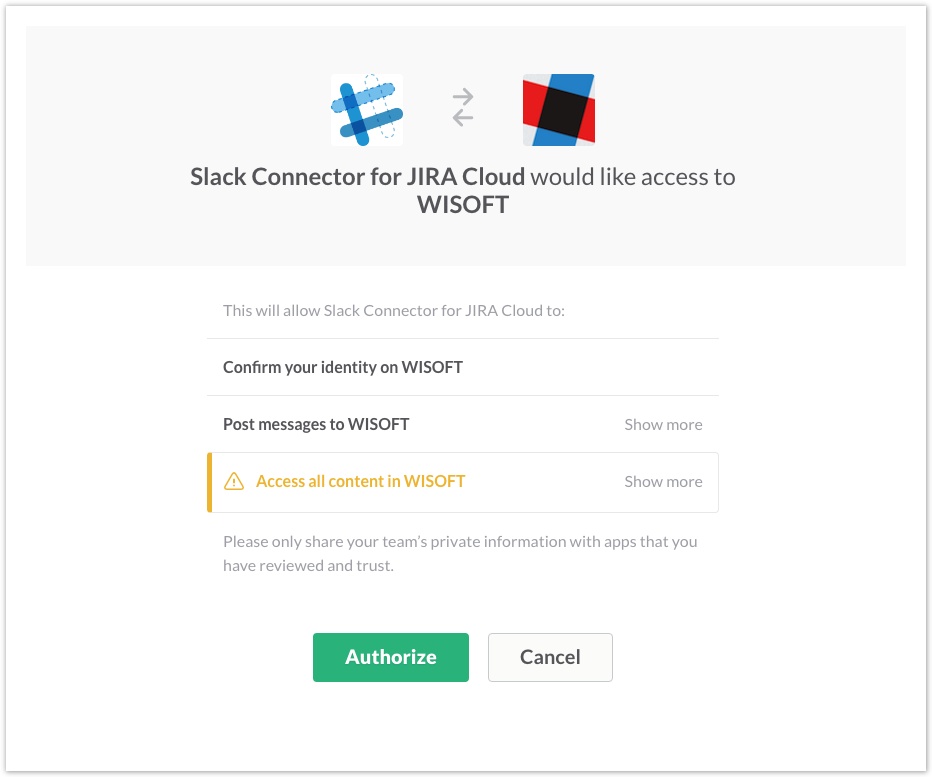
The most important step after installing Slack Connector add-on is connecting you JIRA account with Slack. At least one Slack account needs to be connected in order to get notifications working. This can be done by administrator on Global Setup page shortly after installation or on any Issue page by clicking Connect with Slack button on Issue Tools panel (Fig.1). You will have to confirm your decision on Slack webpage (Fig. 2).
Connecting your accounts will require to authenticate as a member of selected Slack team and then to authorize Slack Connector for JIRA Cloud app to access Slack on your behalf (Fig.2). This grant can be revoked at any time, please read Security and Privacy section for more details regarding this.
In case the user will see the message that they are not authorized to install Slack Connector for JIRA Cloud, the person with Slack admin priviledges needs to approve the connector app so that the other Slack users can then configure it for themselves. It can be done by accessing the following page: https://YOUR_SLACK_NAME.slack.com/apps/manage
After you complete the process you may access all the features available in Slack Connector. For a good start you may want to visit any issue page and find the "Slack discussions" panel on the right side of the screen or (for JIRA admins only) go to Global Setup page to configure notifications for all issues and projects.
Note for Confluence users
Slack Connector for Confluence uses a different Slack app called Confluence Cloud Connector. Moreover the set or permissions you will be asked for approval while connecting with Slack will be longer and much more detailed. This happens because Slack Connector for Confluence uses the new more granular Slack permission scheme.

